
Recently I began playing around again with FL Studio – it is great for beginners to audio and DAW’s in particular because they offer a free trial that essentially almost unlimited so you can really learn a lot about the product without having to buy it – I’ve bought a license though as I’ve used this software for over ten years and want to see it continue to be developed.
I’ve been using it to get the input from my Guitar via my M-Audio 2X2M device and then using VST’s such as Native Instruments Guitar Rig and one of the things I noticed very quickly was that not being able to control effects with a foot pedal was quite annoying.
Initially I started looking at commercial midi pedal boards but I didn’t really want to go an spend money on one and then realise that its not something that I actually wanted – luckily in my search I’d found some resources where people had made their own DIY foot switches.
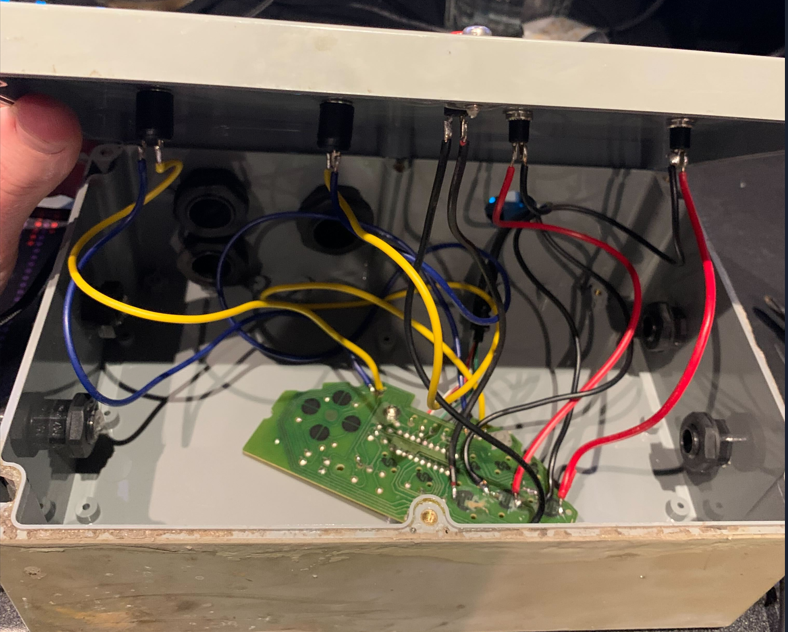
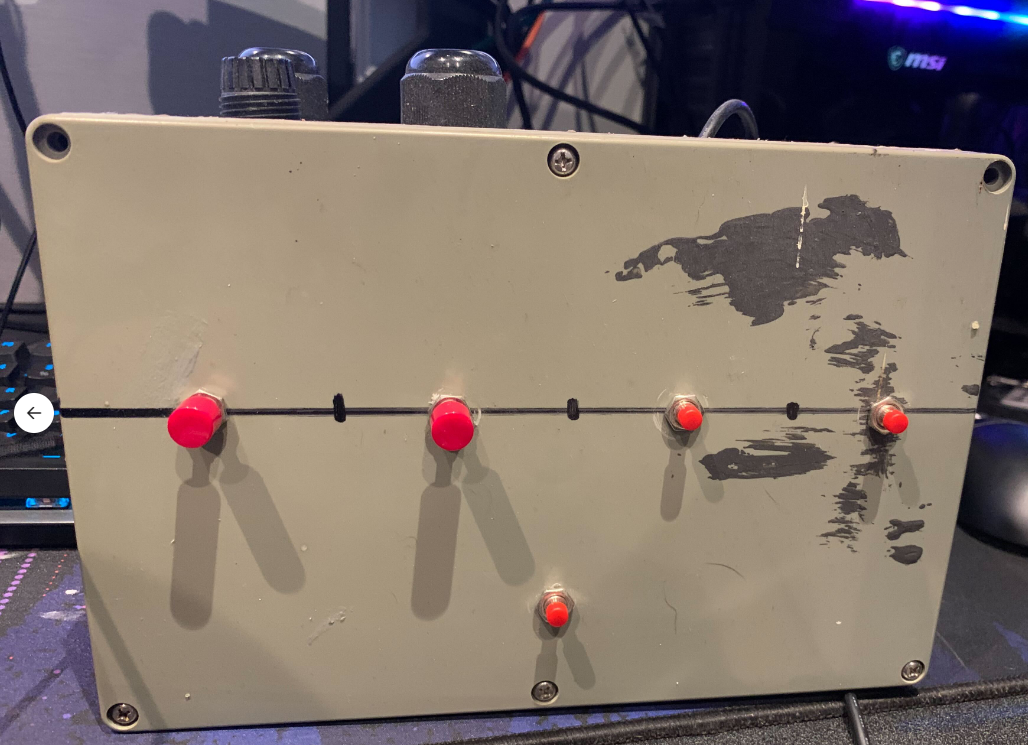
So armed with internet knowledge, I went to the garage and found some switches and an old project box – the results of which you can see below
Now – the next issue I faced though is the gamepad by default is just detected as a USB game pad – we need software thats going to convert the button presses into a Midi Signal, and a signal processor that will send that data to our DAW (FL studio in my case)
The two pieces of software that you will want which work in Windows 11 are:
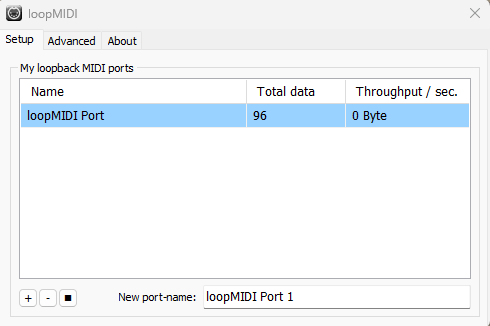
- LoopMidi this creates the midi “port” for you to select in your DAW – just click the + button and add a device.
- Rejoice: This software allows you to specify what type of midi signal you want your button presses to register, in my case I’m emulating guitar pedals so “Controller Change” worked fine – make sure you set “Midi Out” to be the loopMidi Port. I found Rejoice to be the better option for this as its very easy to see and understand your controller buttons because when you press and hold one you can then click on “Add” and define what the button should do.
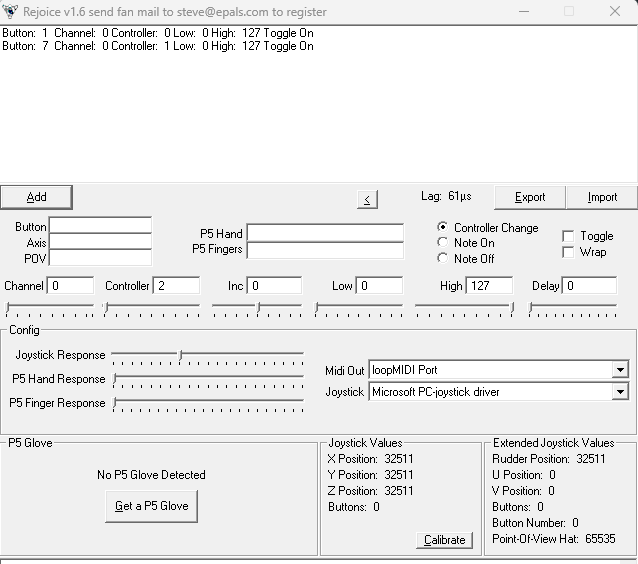
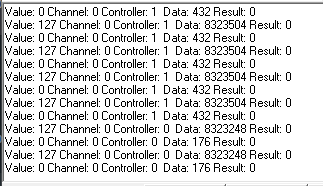
Once you press a button, your should be able to see the log of data in loopMidi demonstrating that it is indeed receiving data – AND – one of the reasons I love Rejoice over other tools is it gives its own log of inputs as well
Now – back in FL Studio we’ll need to go to Options > Midi Settings and enable our loopMidi Port and also set a port number for it in the input section – it should look like the picture below

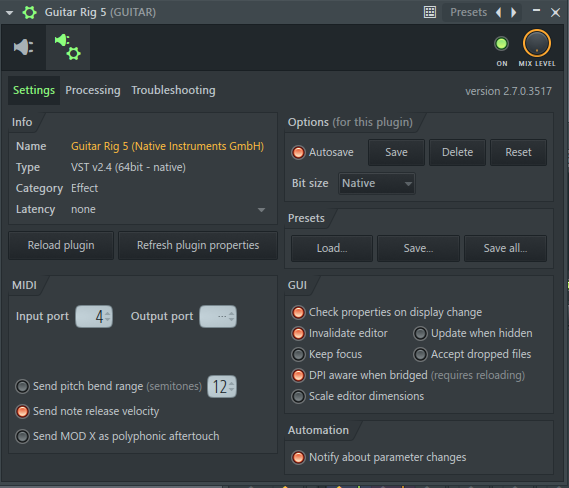
Lastly – we need to configure the VST we are using so it knows to listen to that port for Midi Inputs. So open your VST up – and then click the plugin config button

Then – set the Midi Input Port to be the same port as you set in your Midi Input settings earlier
We’re almost there at this stage – the next thing that we need to do though is make sure our buttons actually do something
To make sure they do, in Guitar Rig 5 right click on any of the amps power switches and then click “Learn”
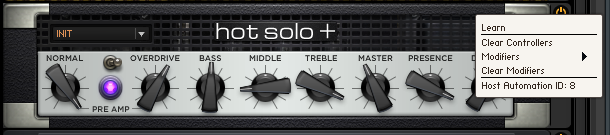
Lastly – press one of your foot switch buttons.
All going well – you’ll get a message saying the controller button has been assigned
You can now use your foot switch!
If this post has helped you feel free to reach out to me on Twitter – because all comments on this site have been disabled due to constant spam.